Getting Started With Kali Linux on Raspberry Pi
Getting Started With Kali Linux on Raspberry Pi

Cyber security. Many new players in the field of computers take a shot at it. And why wouldn’t they? The idea of being able to achieve complete control over a secured source of information while sitting at home on a laptop in a dark room would make anyone feel like a god. But how do you get started with it?
The most commonly used platform for this is Kali Linux. Kali is a Linux distribution designed specifically for Cyber Security. A lot of people like having the option of a portable “hack station”. This can be done using a Raspberry Pi.
This tutorial is going to be all about setting up Kali Linux on a Raspberry Pi, installing the tools necessary for cyber security. Bear in mind that this can be dangerous in the wrong hands, so make sure you don't do anything malicious with it.
Setting up the Raspberry Pi
Kali Linux can be set up on Raspberry Pi in a few easy steps:

Step 1 - Choosing the right Pi
The recommended models for installing Kali Linux are Raspberry Pi 3B+ or higher. The 3B+ was a big upgrade in terms of hardware from the previous 2B model. It is recommended to use the 3B+ or higher ones due to their smooth performance and overall reliability.
For more about choosing your Raspberry Pi model, check out our blog on how to buy the right Raspberry Pi online.
Recommended on Amazon:
Raspberry Pi 3B+ ★★★★+
Raspberry Pi 3B+ Complete Kit ★★★★+
For more about choosing your Raspberry Pi model, check out our blog on how to buy the right Raspberry Pi online.
Recommended on Amazon:
Raspberry Pi 3B+ ★★★★+
Raspberry Pi 3B+ Complete Kit ★★★★+
Step 2 - WiFi adapter
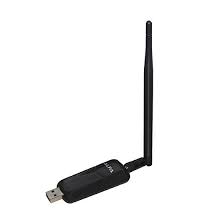
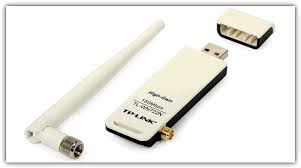
Though the Raspberry Pi 3 and higher models come with an inbuilt wireless card, you will need to use an external adapter. This is because the inbuilt one is not capable of certain functions like entering monitor mode, packet injection and others. Believe me, these things are at the heart of cyber security and hacking.
So, the adapter you should have is one that supports monitor mode, is tested for aircrack-ng and supports packet injection. These details are usually given on the packaging box if you buy it from an authentic store, or on the product description if you’re buying it from Amazon.
Recommended on Amazon:
USB WiFi LAN Adapter ★★★★
Recommended on Amazon:
USB WiFi LAN Adapter ★★★★
Step 3 - SD Card

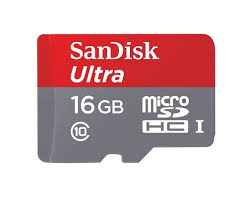
It is important to choose the right SD card to ensure optimal performance. Make sure the SD card you're using is marked as 'Class 10'. For Kali Linux, you should opt for at least an 8 GB SD Card. To properly install Kali with all its peripheral tools, you are going to need that storage space. Most people go for a 16 GB SD card as it allows them to have a some extra storage space even after installing the Kali tools.
Recommended on Amazon:
16GB SD Card Class 10 ★★★★+
Recommended on Amazon:
16GB SD Card Class 10 ★★★★+
Keep in mind though, that 32 GB Cards are not recommended, since they can cause a lot of problems post installation (speaking from experience).
Installing Kali Linux

Step 4 - Getting the OS Image for ARM
Now you get hold of the Kali OS Image. The OS comes in different builds, one for each processor architecture. That's why you will find different versions of Kali recommended for regular laptops that have standard Intel processors, and different ones for Raspberry Pis, which have ARM processors. In some cases, you may even have different builds for the ARM version of your Raspberry Pi. Also make sure you know whether your Pi has a 32-bit or 64-bit system. For Raspberry Pi 3 and above, you can use the 64-bit distribution.
The OS Image is available for download at the official offensive-security website. Download the image (*.iso or *.img file) for “Raspberry Pi 2, 3 and 4” which is about 1 GB in size, so keep your popcorn ready.
The OS Image is available for download at the official offensive-security website. Download the image (*.iso or *.img file) for “Raspberry Pi 2, 3 and 4” which is about 1 GB in size, so keep your popcorn ready.
Once you have this image, insert your SD Card into a Laptop using an adapter, then burn the Image onto the SD card using a software like Win32 Disk Imager (if you are on windows) or Etcher (if you’re using MacOS or Linux). There's a detailed tutorial for this here.
Once that is done, remove the SD Card from your Laptop (safely :] ), insert it into your Pi and then power up the Pi. Kali should now boot.
Setting up Kali Linux
Step 5 - Basic Setup
When you boot up the Pi for the first time, it is recommended to have a monitor connected via the HDMI port, since you will need to set up some OS configurations that are just quicker to do directly rather than via SSH.
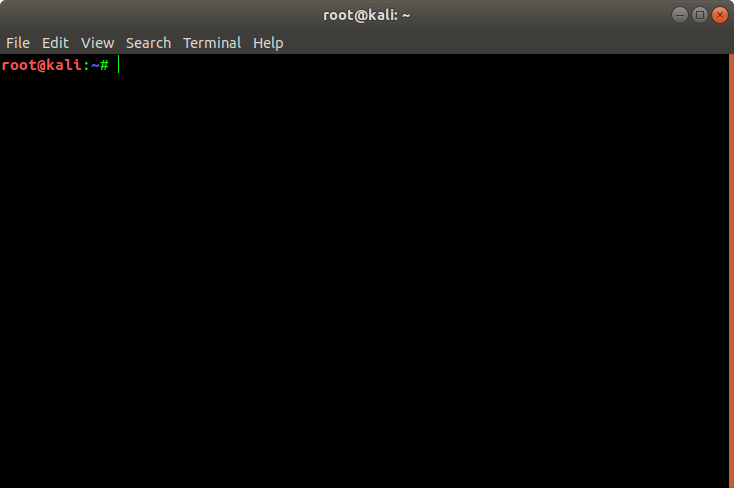
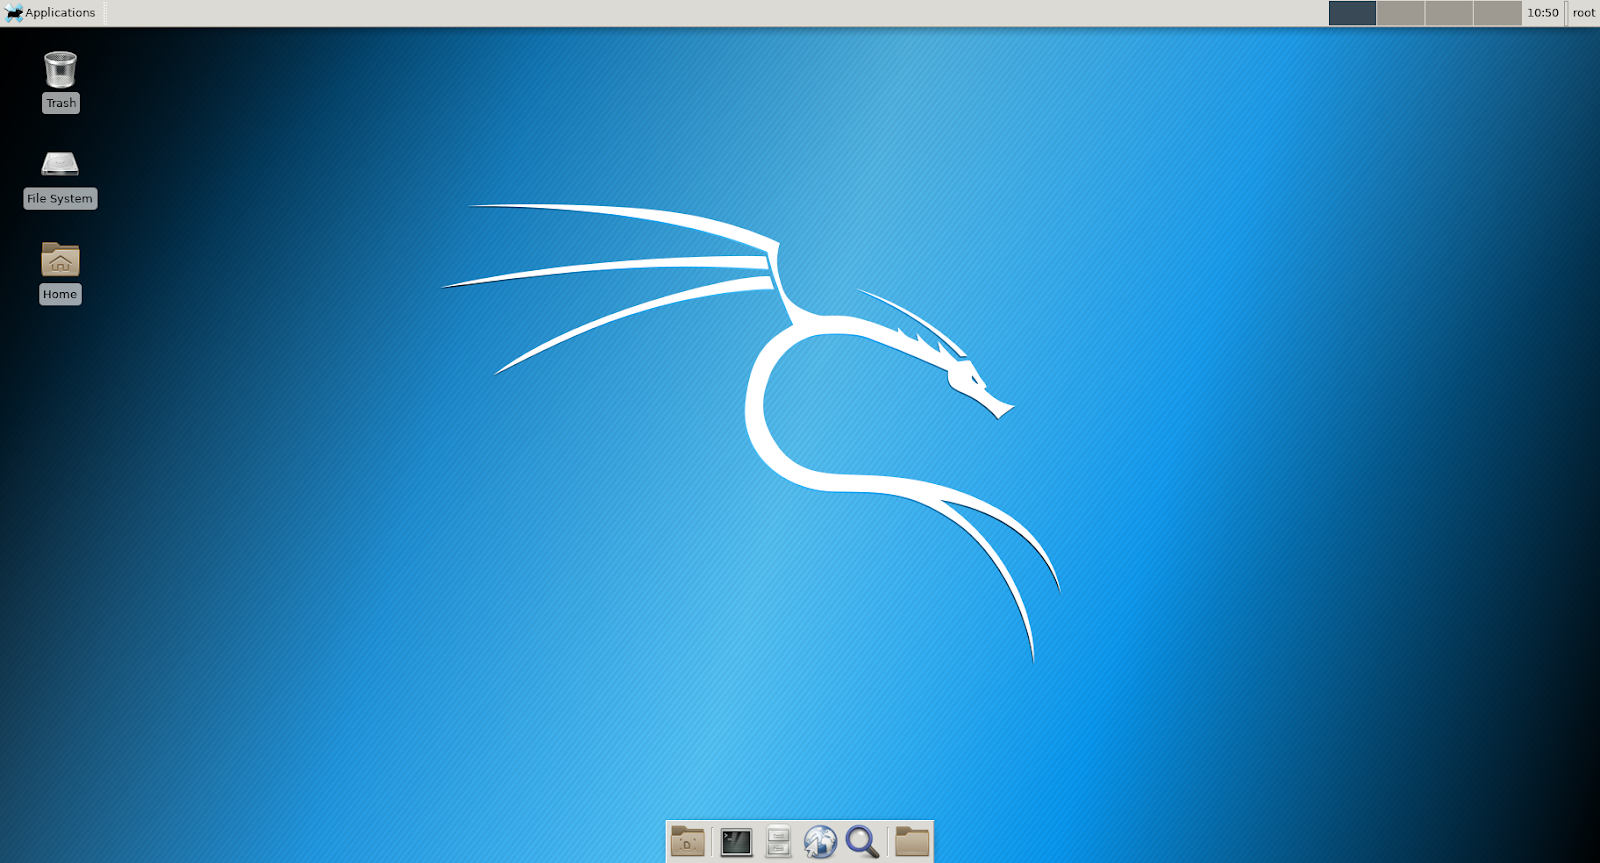
Once the Pi has booted up, you will be asked for a username and password. Default credentials for Kali Linux are root as the username and toor as the password. Use them to log in. Once you’re logged in, you should see a screen like this
Now there are a few things you need to do before you actually get started with hacking things.
Optional Step - Change your password (recommended)
Though this is an optional step, it is really important that you do it. To do this, open up a terminal by hitting ctrl+alt+t on your keyboard and then type the following command
> passwd

Now enter a new password, confirm it and hit enter. Your password has been reset
Step 6 - Increasing File Partition
When you install Kali Linux, the complete space on your SD card is not allocated to it. For a 16 GB SD card, you will notice that only 4.5 GB is allocated to Kali. You need to increase this to make space for all the tools you will need later. Here, use a tool called gparted.
To install it, open up a terminal by hitting ctrl+alt+t on your keyboard and type
> apt-get install gparted

If you haven't installed it already, you will see some installation progress messages and it should be done in a minute.
Once it is done, type gparted on the terminal and resize your partition. Details on using gparted are in the following video.
> gparted
Step 7 - Installing Tools
Once you have resized your partition, it’s time to install some necessary tools.
Open your terminal and type in the following command:
> apt-cache search kali-linux
The output should look like this:
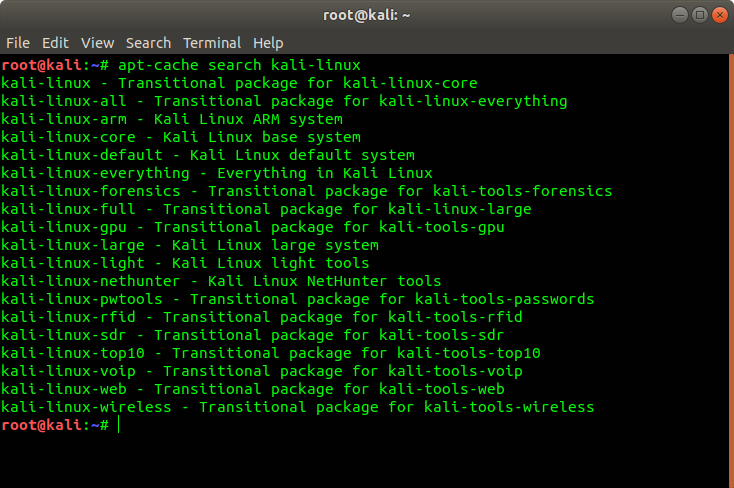
This shows you all the available packages. When you install Kali Linux, you only get a handful of cyber security tools out of the box. To get the rest, you need to install them.
The next command is
> apt-get install kali-linux-all
Or alternatively
> apt-get install kali-linux-full
The difference is that kali-linux-all installs all the the Kali packages, while kali-linux-full installs majority of the packages but not all of them. As a beginner, kali-linux-full should be good for you as “all” the packages include tools for the highly advanced. They might give you powers you can't control yet.
kali-linux-all is about 10 GB in size, and kali-linux-full is about 3GB. So it might also save you a lot of time.
Once it's done, you’re ready to enter the world of cyber security and non-malicious hacking!
Once it's done, you’re ready to enter the world of cyber security and non-malicious hacking!
Conclusion
You have successfully set up Kali Linux on your Raspberry Pi. You’re now on your way to become an ethical hacker. Remember - ETHICAL Hacker!
I hope this blog was helpful.
And I'm pretty sure you're on the way to learning, developing and building some awesome stuff :)
I hope this blog was helpful.
And I'm pretty sure you're on the way to learning, developing and building some awesome stuff :)

Comments
Post a Comment